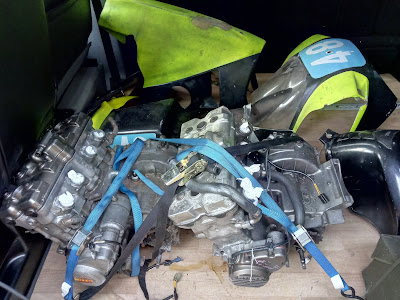
Road: New clothes?

Sorting the scruffy Bumblebee
I kind of liked the yellow CBR400RR but the bodywork was scruffy so I started looking for a replacement.
I had a number of options open to me from repairing what I had, OEM replacements and aftermarket replacements of various qualities.
As this bike was never intended to be a painting I didn't want to spend loads so out the window went any plans for Tyga performance bodywork or anything else expensive.
I'm not convinced yellow was ever a factory option so it looked like a colour change might be in order without faffing with paint.
As it turned out the bike made the decision for me when its left mid fairing flew off into a field on the way to work. Funnily enough this is exactly what happened on the last CBR400 I ran but this time I didn't find the misbehaving panel.
So my hand had been forced and now I'm fairing shopping a little harder.
I had decided on some pattern Chinese bodywork like on the NSR250 MC28. they are cheap and the paint work is usually better than the original mainly because its actually paint and not just stickers on plastic.
 |
| Urban Tiger |
 |
| Conica Minolta |
After much deliberation I had boiled it down to two options that were available.
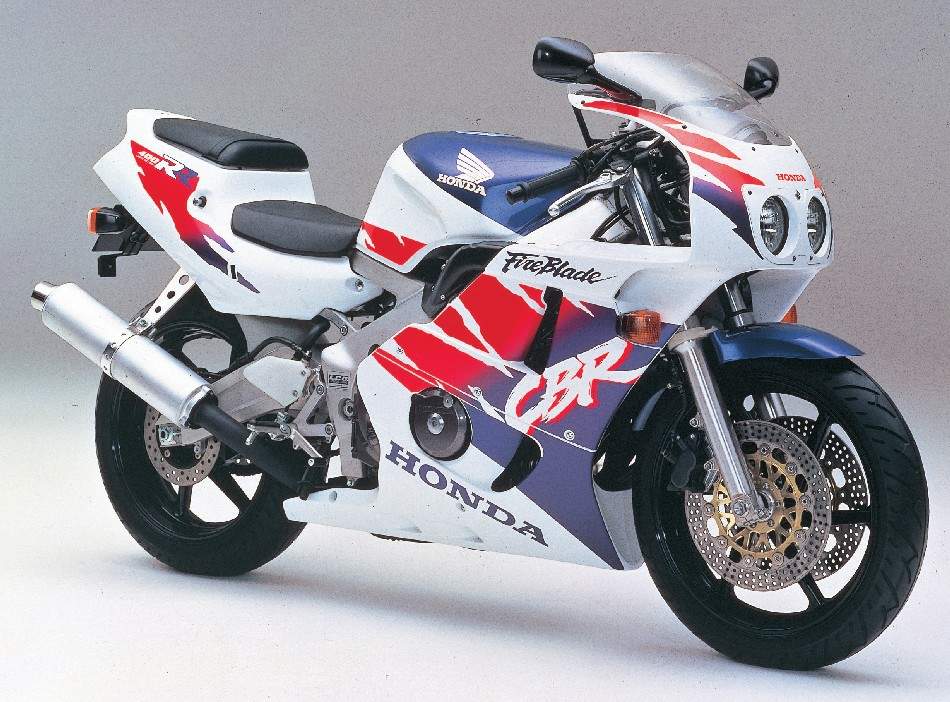
I liked the idea of going back to the OEM style urban tiger but fancied a white one rather than burgundy again.
Alternatively I liked the clean design of the Conica Minolta rep which really suits the bike.
I struggled to decide so ended up palming the decision off onto my girlfriend who went Minolta so a set was ordered.
Fitting up
 They arrived a little under a month later so off came the old bodywork and I got busy giving everything a tidy up whilst I had the bike free of plastics.
 It is a good chance to give things a good clean, repair wiring loom tape and touch up bits of paint on the subframes.
I have found that the key to fitting Chinese bodywork is to take your time.
The plastics are not the best quality but they are okay, just a bit brittle. Also the fit can be a bit poor so taking time to correctly align everything and drill holes where needed is a big help.
As it turned out, the bodywork is a pretty good fit for this bike and unlike my NSR set; there were no problems with transit damage.
There are a couple of areas where some brackets will be needed to make up for missing tabs but otherwise the bodywork fits very well.
 |
| That metallic blue really does pop in the light. |
Paint
Now all I had left to do was paint the tank. Oh and the hugger, that didn't come in the kit and mine was very yellow. I had already ordered decals when I had started paint on the VFR750 which I was doing around the same time. Thankfully for me I had a bodywork design that just needed a white tank with decals. My tank was also in good condition too so this should be hard to bugger up.
 I drained and vented the tank before removing the accessories and rubbing it back for priming
I had bought a good amount of white primer and gloss for this job as well as a tin of fuel resistant lacquer.
 The primer took really nicely and dried fast so I had the thing top coated not long after. Once this was also dry I stuck the decals on and went for the lacquer which promptly made the paint run over the decals ruining the paint job. Cock.
New decals were ordered and the tank was rubbed back again.
When I repainted, I waited for a day between coats which took much better (still not perfect) for the finished job.
 The paint did later hair line crack which was disappointing. Maybe it was too cold. Thankfully you can only really see close up and it is mostly under the tank pad area.
 The only other bit I added in these pictures is the ram air duct covers. I found these online for £50. they are a bugger to find so I was happy to find any at all. They don't do anything but they certainly add to the look.
 I didn't even mind the carbon look wrap they were delivered in and left it on. Also I suspected they would be scratched underneath anyway so didn't want to have o deal with that.
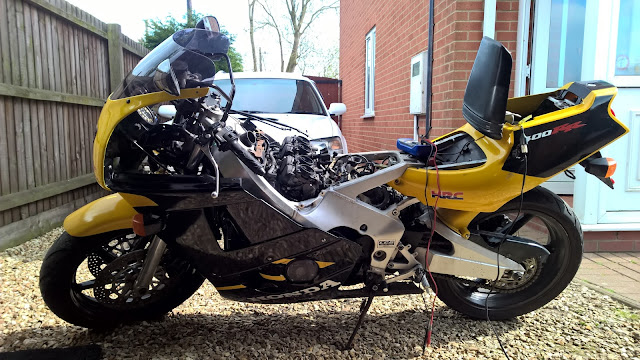
The finished bike looked really tidy now. I later bought a clear screen as you can see on the left which looks loads better than the black one the kit came with.
The carbon look mirrors will need replacing at some point but it is as good as finished now.. Not a bad looking bike at all.
 |
| Always finish on an unedited mobile phone image. Nice! |
Comments
Post a Comment